Summer is almost here and while by now most of us are aware of the importance of protecting our skin from sun damage caused by UV rays, we all seek that “sun-kissed” look with the healthy flushed-cheek-glow. Is it possible to recreate this look without actual sun and with just makeup? I spoke to veteran makeup artist Suzy Gerstein for her expertise.
Munemi: I think everyone looks good with a healthy glow and sun-kissed look. What do you like about this look and how do you prepare the skin for that dewy finish?
Suzy: I agree! This is a favorite look of mine because it is super quick and ultra flattering. I love to start with a nice massage using the ReFa Carat to encourage lymphatic drainage and promote circulation. Next, I like to mist the skin with Rosewater - lately I've been obsessed with the MŪN Anarose Hydrating Rose Toner because of the way it calms, tones, and gently exfoliates, priming the canvas as it were for a smooth makeup application. I usually follow that up with an antioxidant serum high in Vitamin C (such as Kypris Antioxidant Dew that keeps my skin soft and happy) to add hydration and radiance as well as fight free radical damage. I follow that with a great face oil which also serves as a makeup primer, and I love the MŪN Aknari Brightening Youth Serum because it is lightweight in texture, while also extremely soothing and effective. And my clients oooh and ahhh when I do a facial massage with it. I usually top the oil with a tinted sunscreen product. Lately a favorite is Marie Veronique Every Day Coverage Tinted Sunscreen SPF 30 which I love because it has a featherlight texture, contains broad spectrum non-nano zinc oxide sun protection and also gently diffuses redness with a hint of pigment.
M: Would you share with us your step-by-step for how our readers can create an easy “sun-kissed” look using makeup?
S: Summer makeup should be quick and easy so I encourage using your fingers for this look or getting a couple of big, fluffy brushes that make the job quick and fun. And before you start, make sure you find a spot with good natural light - this may seem odd, but it is truly essential for getting bronzed skin right because you want it to look believable in the daylight.
1. Spread a couple of pumps of Dr. Hauschka Tanslucent Bronzing Tint onto fingertips or sponge and apply where the sun would hit, concentrating on the temples, across forehead, down the bridge of the nose, a bit on the chin and along the sides of your neck. Then (and this step is important) take a big, clean, fluffy synthetic brush (I love Gressa’s Foundation Brush and the It Cosmetics Fan Brush) and buff the product in so that there are no streaks or lines anywhere.
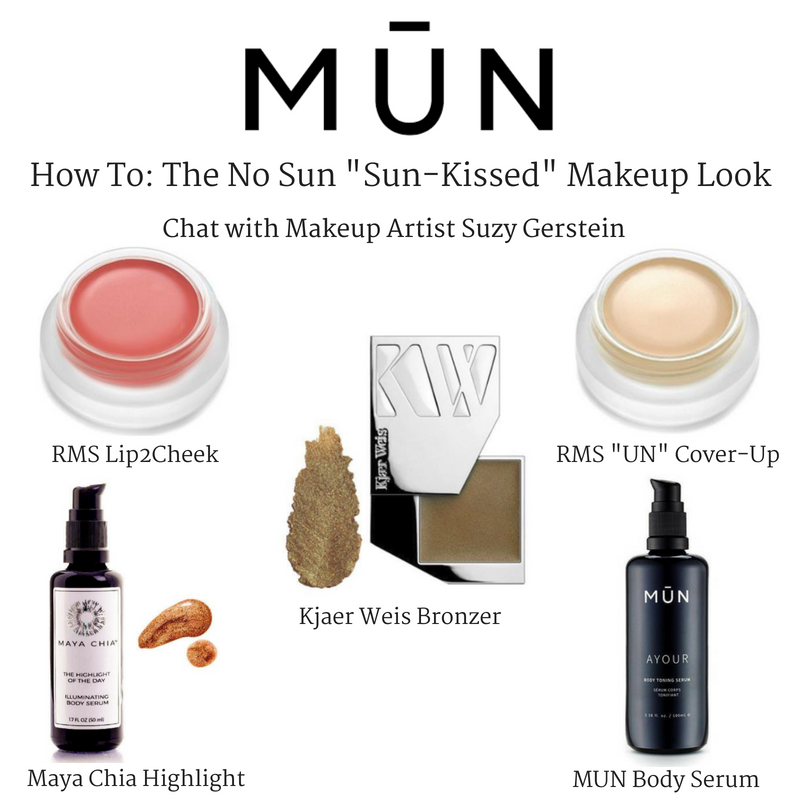
2. For this look, I like to actually do blush before concealer and foundation because I find that it creates the impression of a flush, which is essentially color coming through from underneath the skin. Smile and use that same big, fluffy brush to buff a bright blush across your cheeks. Go brighter than you'd normally think - trust me on this. When you think of the color that develops from the sun it's quite pure and strong, and we are trying to mimic that so no sandy pinks for this look. I love RMS Lip2Cheek in Smile for fair skin, Beloved for medium skin, and Diabolique for deeper skin tones. I also tend to mix so don't be afraid to play around and combine the colors to customize, adding in the Rose Gold Master Mixer if you prefer a bit of sheen. Take what's left on your fingertips after applying the color and press onto lips.
3. If the tinted moisturizer wasn't enough coverage for you, now is the time to add a bit more. I like to use a fluffy synthetic brush to apply RMS Un-Cover-Up to any areas that need a bit more attention which are usually around the mouth, around the nostrils and on any blemishes. For this look I don't like adding too much concealer underneath the eyes- maybe the thinnest layer of a peach-toned if you feel naked without it (W3LL People Bio Correct Multi Action Concealer is a great product). But use a light hand because I really love the way a hint of tone under the eyes adds a sultriness to this look and a thick concealer would take away from the beautiful transparent feel of the sun kissed color you've applied. Try and make friends with your “dark circles.” I assure you that 9 times out of 10 they are nothing that can't be helped with a little blush and a confident smile.
4. Use your fingertips to add a bronzey wash to eyelids. I'm a big fan of the Kjaer Weis Bronzer in Dazzling. Their brushes are great, too and really help with precision and getting the product to last. I like to use their angled brush to dot some of the color underneath the eye as well and then buff it out with a clean definition brush.
5. 1-2 coats of mascara. Nu Evolution makes a fantastic one. And if you like your brows to have a little extra definition and hold, try this trick: wipe off what's left on the wand after applying your mascara in a tissue until there's hardly anything left, then run the brush through your brows, brushing up and out and focusing on the tail of the brow and top of the arch to get a subtle lift that keeps with the overall softness of the look but adds that extra face-framing finish to make it pop.
M: Is there anything else people should keep in mind when trying this look?
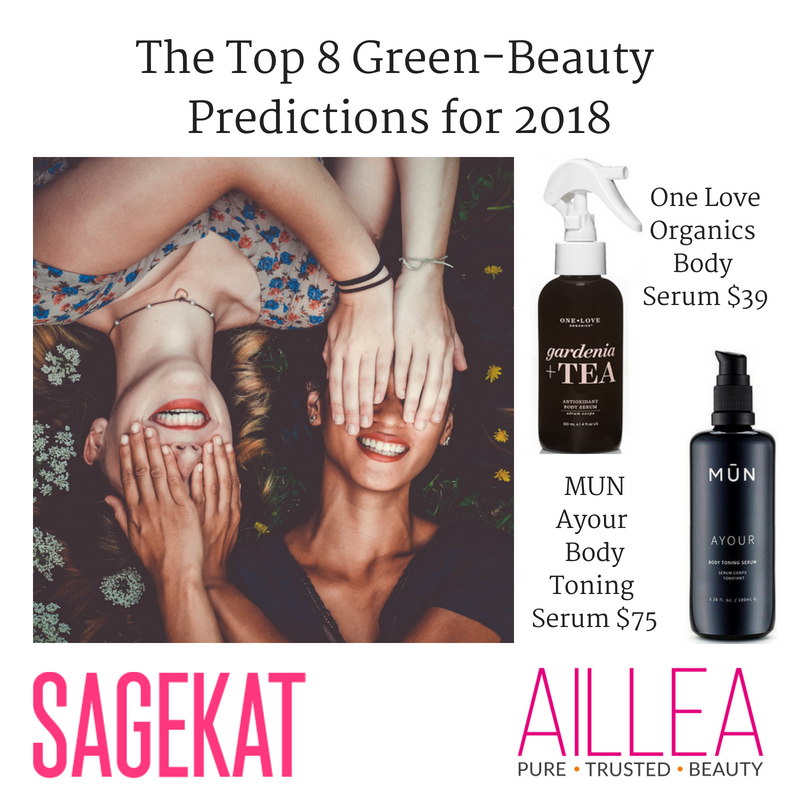
S: When creating a glowy, sun-kissed look without the sun it's important to pay attention to all exposed areas, not just the face. I always apply a lightweight oil like the MŪN Ayour Body Toning Serum to shoulders, elbows, legs, heels and ankles so my clients look cared for from top to tail. I love the way it adds radiance to the skin and absorbs quickly. Sometimes I'll even mix in a few drops of a highlighting product like the Maya Chia Highlight of the Day to give even more of a light-catching glow.
CLICK HERE TO READ FULL ARTICLE


